
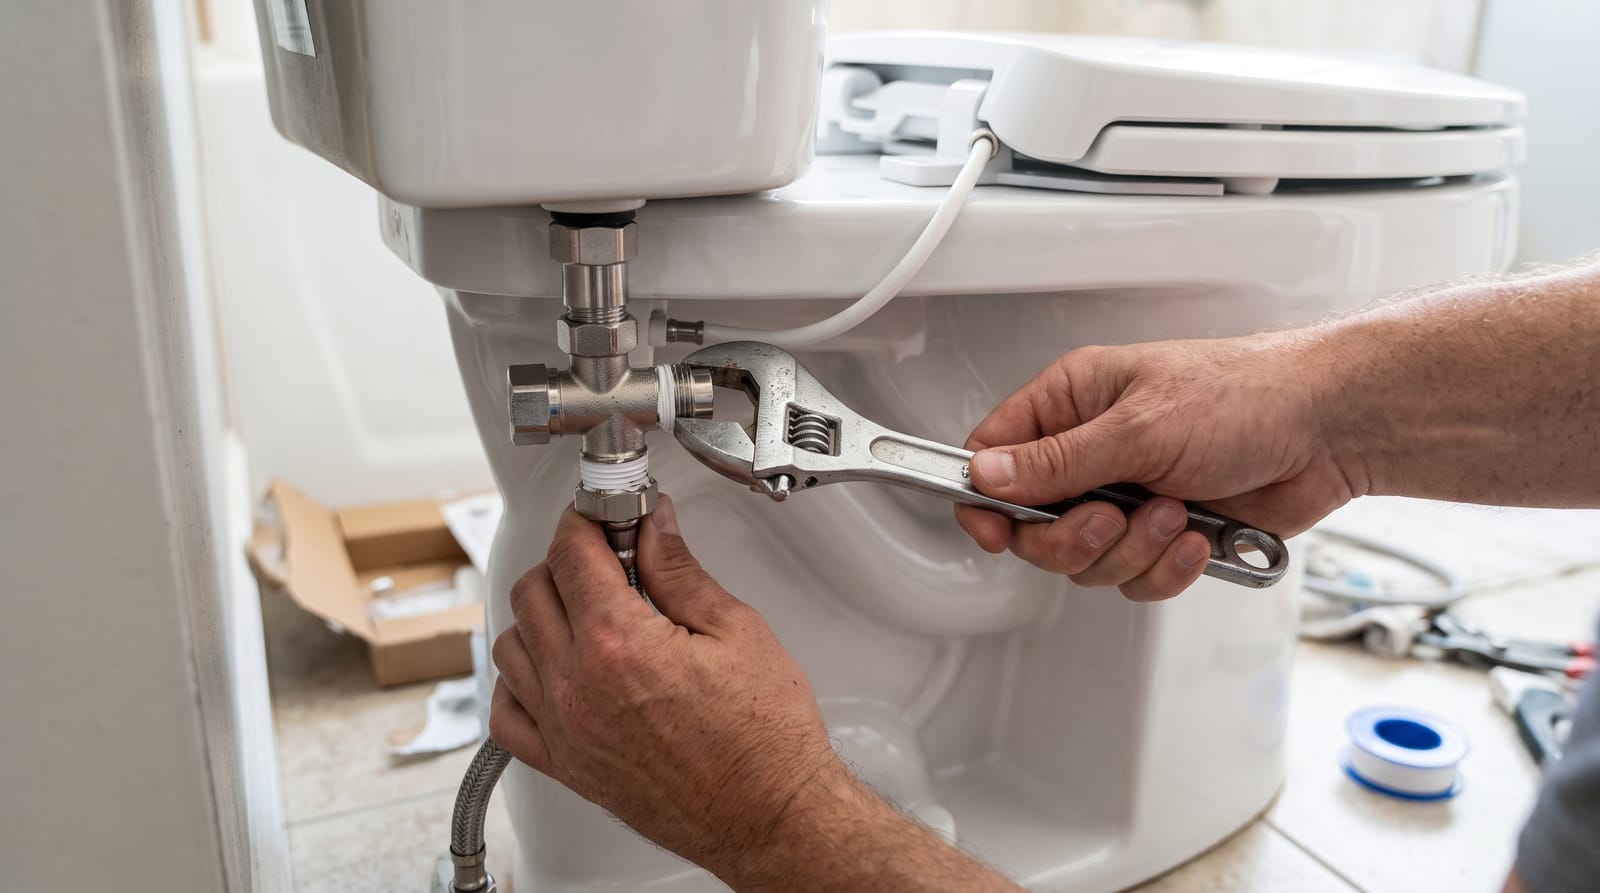
If you've ever looked at a bidet and thought "I'd love one, but I'm not handy," this one is for you. You don't need to be. Many bidet attachments are built for people who have never touched a wrench, and the whole job is one connection behind your toilet.
Easy bidet installation is realistic for most households, and it's one of the few home upgrades where you can see the finished result before your coffee gets cold. Most people finish in about 10 to 15 minutes, though your first time may take a little longer, and that's fine.
Why a DIY toilet shower is a smart move
For the frugal optimizers: a plumber visit is a cost you can often skip entirely. With no plumber required for most attachments, the only money you spend is the bidet itself, and it replaces a stream of toilet paper purchases you'd otherwise keep making. Curious about your own numbers? Run them in our savings calculator.
For the eco-warriors: there's no construction, no new pipes, and no extra materials. You're attaching one small part to a toilet you already own. Rinsing with water instead of wiping dry means buying and flushing less paper. Bidets do use some water, and published estimates for a typical wash are around an eighth of a gallon, depending on your model.
What you'll need
- Your bidet attachment and everything in its box (the kit usually includes a T-valve, a hose and mounting hardware)
- An adjustable wrench
- A towel or small bucket for drips
- A few minutes and a dry floor
Check your model's instructions before you start. Fittings vary a little between products, and the manual always wins over general advice.
Step 1: Turn off the water
Find the small shut-off valve on the wall or floor behind your toilet. Turn it clockwise until it stops. That cuts the water to the toilet only, so the rest of your home keeps running. Lay your towel down under the connection.
Step 2: Flush to empty the tank
Flush the toilet once and hold the handle down so the tank drains as much as possible. Less water in the tank means fewer drips while you work. A few drops from the hose are normal, so that's what the towel is for.
Step 3: Attach the T-valve
Unscrew the supply hose from the bottom of the tank, turning it counterclockwise. Screw the T-valve onto the tank fitting by hand, then reconnect the supply hose to the T-valve's bottom connection. Tighten by hand first, then give it a gentle extra quarter turn with the wrench if your instructions say so. Snug is the goal, not as tight as you can go.
Step 4: Connect the hose
Most attachments sit between the toilet seat and the bowl. Lift the seat, fit the bidet plate over the bolt holes, and put the seat back on. Then connect the bidet hose to the open port on the T-valve and hand-tighten. Turn the shut-off valve back on slowly, counterclockwise, and your first rinse is ready to test.
But what about leaks?
This is the most common worry, and it's a fair one. Water is only a problem if it gets where it shouldn't, and the good news is that leaks almost always happen at connections you can see and fix yourself. Here's how to keep them from happening:
- Check the washers. Each connection has a small rubber washer. Make sure it's seated flat before you tighten, because a crooked washer is the usual cause of a slow drip.
- Don't overtighten. Too much force can crack plastic fittings or squash the washer. Hand-tight plus a small turn with the wrench is typically enough.
- Turn the water on slowly. It lets you watch each connection as it fills.
- Do the paper towel test. Wrap a dry piece of paper towel around each connection. If it stays dry after a few minutes, you're in good shape.
- Check again later. Look at the connections after about ten minutes, and once more the next day.
If you spot a drip, turn the shut-off valve clockwise, dry the connection, check the washer and tighten a little. That fixes most leaks.
It's also fine to call a plumber if the shut-off valve won't fully close, the fittings look corroded or damaged, or the connections don't match what's in your kit. Plenty of people never need to, but there's no shame in getting a hand. We cover more common questions in our worries section.
You've got this
Four steps, one wrench, no plumber required. When you're ready, browse the collection and pick the DIY toilet shower that suits your toilet and your budget.